Vietnam e-Visa application checklist: get the details right
In this guide
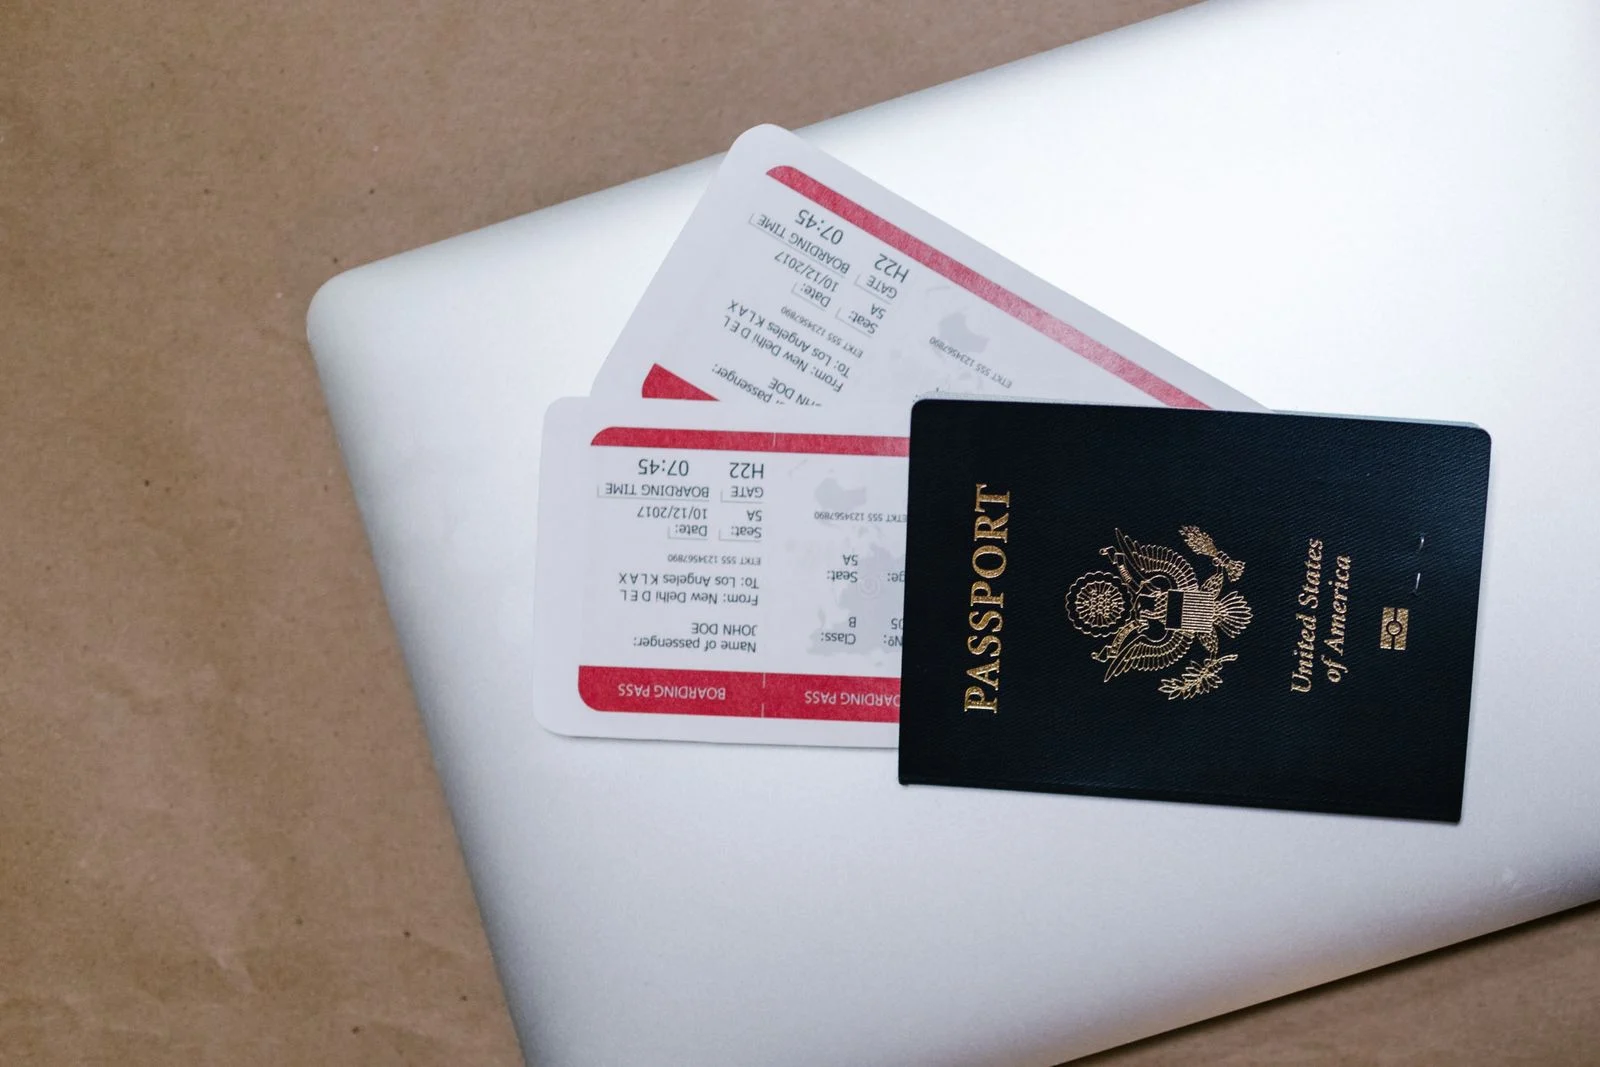
The most useful preparation for a Vietnam e-Visa is a careful comparison: your passport, your application and your itinerary should tell the same story. Start with the passport you will actually carry, then work through the travel details before paying.
Vietnam offers e-Visas for eligible applicants from all countries and territories, with single-entry and multiple-entry options for up to 90 days. That is the maximum available validity, not an automatic allowance attached to every application. The dates and entry type on your issued document matter. See the Vietnam National Authority of Tourism’s visa overview.
Put these items beside you before starting
- The original passport you will use for the trip.
- A clear digital image of its personal-information page and a suitable portrait.
- Your arrival and departure plans, including any trip out of Vietnam and back.
- The first accommodation’s name and address.
- An email address you can access while travelling and a way to pay online.
Check passport validity before spending time on the form. Do not use an old passport scan because it happens to be saved on your phone. If you have renewed your passport, compare the number and expiry date again; a familiar name does not make two passports interchangeable.
Match the identity fields to the document
Read the form’s instructions for surname and given names. Include the names the application asks for, in the correct fields, rather than copying the shortened version from a hotel reservation. Look carefully at characters that are easy to confuse, such as zero and the letter O in a passport number.
Check nationality, date of birth, passport issue date and expiry date separately. Having a friend read the final screen against the passport can catch an error that disappears when you keep rereading your own typing. Never alter a passport image to make it match a mistaken form entry.

Build the application around the whole journey
Use the date you land in Vietnam, which can differ from the date you leave home on an overnight flight. Then check the departure date against the planned validity period. A later arrival does not move the document’s expiry date forward.
Count your entries into Vietnam, not your hotel stays. Hanoi, Da Nang and Ho Chi Minh City on one continuous trip do not create three international entries. Vietnam, Cambodia and then Vietnam again does create a second entry. Our single-entry versus multiple-entry guide explains the difference with route examples.
Choose the actual entry checkpoint offered in the official application. Do not select a city merely because it is the best-known name on the list. If your airline changes the route, compare the new arrival airport with the issued visa and ask for guidance before travelling.
Review, pay and keep the reference together
You can apply directly through the official government e-Visa portal. If you choose Cindy’s application assistance, use the Vietnam visa support form and review the service details and checkout total. Cindy is an independent support service; the immigration authority decides the visa application.
Save the application reference, the email used and the payment confirmation in one private folder. A card charge or payment receipt confirms a financial step, not the grant of a visa. Keep checking the application result through the official route provided to you.

Check the approval before the airport
Open the actual approval document and compare the name, passport number, validity dates and entry type with your trip. Download it for offline access and keep a printed copy. An inbox notification is much less useful at check-in than the document it refers to.
If something is wrong, seek instructions before departure. Do not edit the PDF yourself, assume an airline will overlook a mismatch or submit another application without first understanding the status of the original. For a close departure, use our urgent-travel checklist to organise the information needed for support.